This tutorial shows you how to integrate the Unisave cloud backend platform into your Unity project. This is the first step necessary before using the cloud database and writing custom cloud functions.
📖 Navigation
Unisave Zero to Hero
⬅️ Previous: Introduction
➡️ Next: Backend Folders, Uploading
Import the Unity asset
Your Unity project will connect with Unisave cloud through an asset distributed via the Unity Asset Store. In order to import it into your project, follow these steps:
- Go to the asset store page.
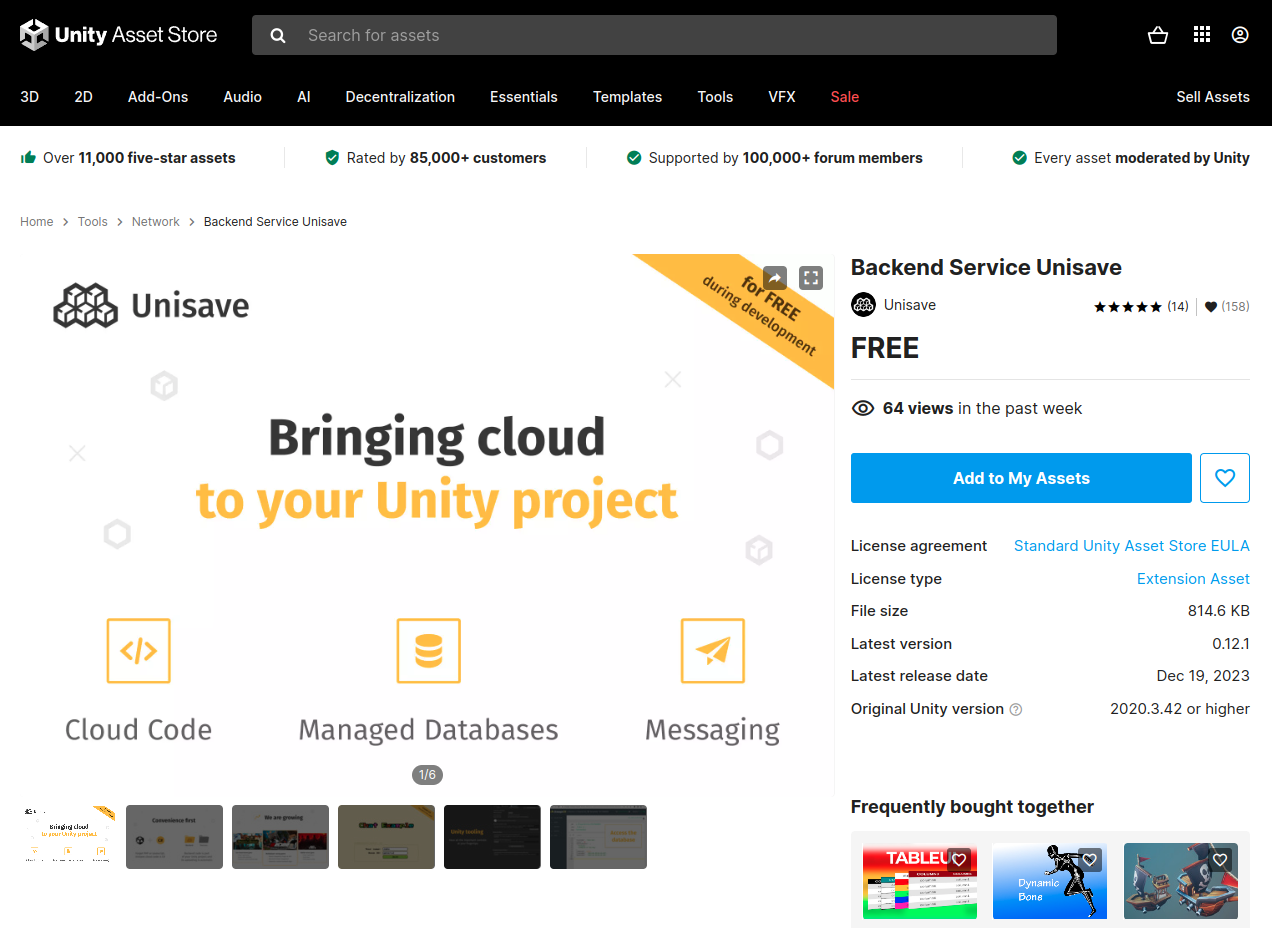
- Make sure you are logged into your Unity account and click the Add to My Assets button.
- Back in Unity, make sure you are also logged into your Unity account. Open the Package Manager window.
- In the Package Manager, select the My Assets group and search for
Unisave. Click on the Unisave asset to see its detail.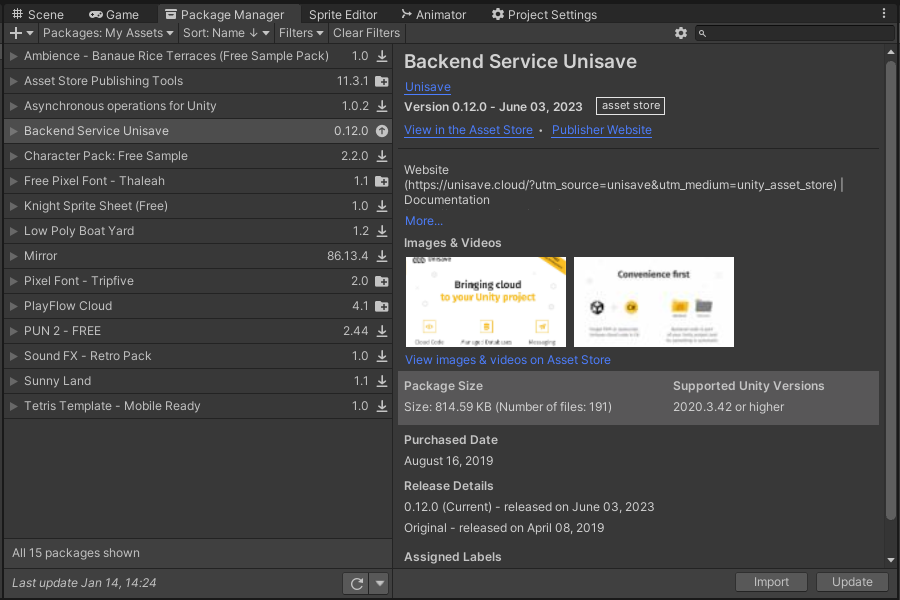
- Click on the Download button and then the Import to project button.
- In the pop-up dialog, leave all assets checked and click the Import button.
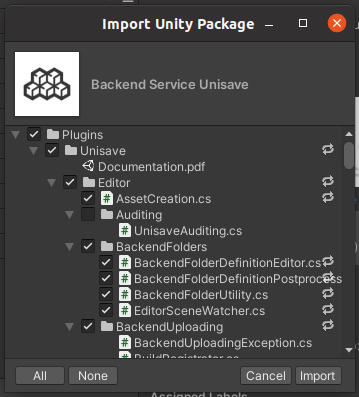
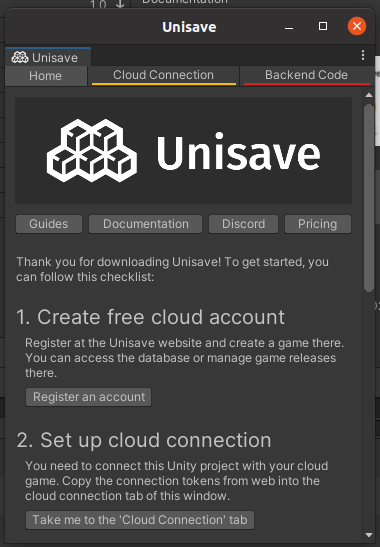
When the import finishes, the Unisave asset will automatically open the Unisave Window. If not, click on the Tools > Unisave > Unisave Window menu.
Create a cloud account
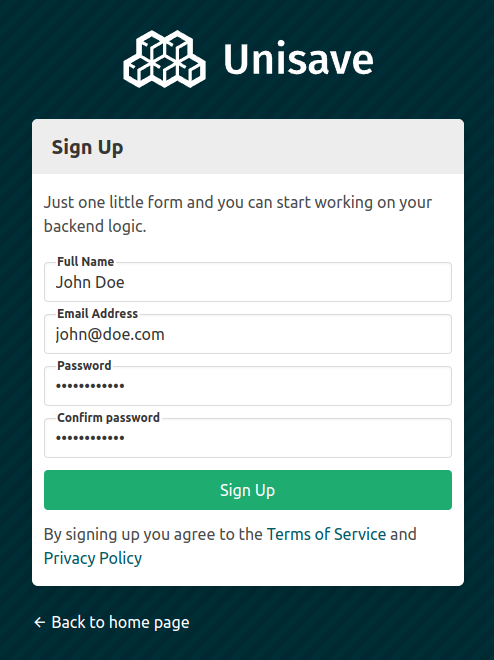
Go to the Unisave website (https://unisave.cloud/) and click on the Create Account button in the upper right corner of the screen. Fill out the registration form and submit it.
You will be redirected to the web dashboard with the list of your games:

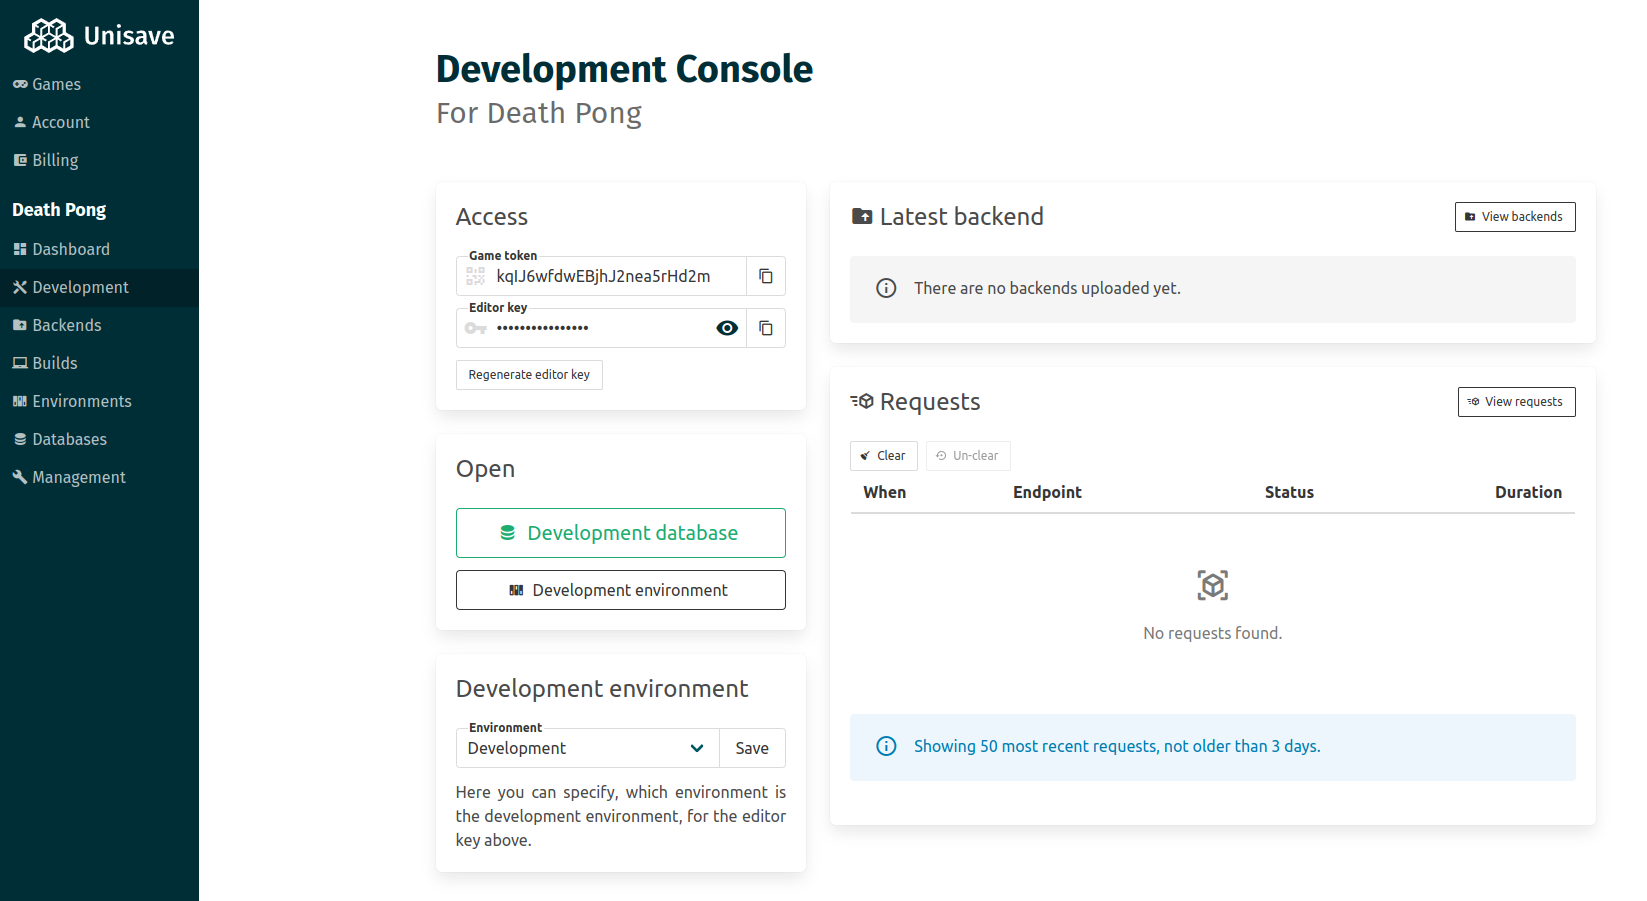
Click on the Create new game button and fill out the name of your game. You will be redirected to the Development Console of your newly created game:
Connect Unity with Unisave cloud
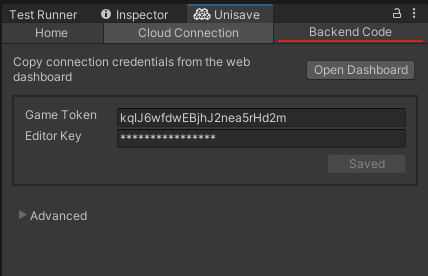
In the Development Console web page, you have two tokens: the game token and the editor key. They are needed for Unity to communicate with the cloud. Copy these one-by-one and paste them into the Unisave Window in Unity, into the Cloud Connection tab:
Check that backend uploading works
Now the connection should be established. One way to verify that is to perform backend code uploading and see if it succeeds.
In the Unisave Window go to the Backend Code tab. Click on the Upload button (the manual backend upload trigger):
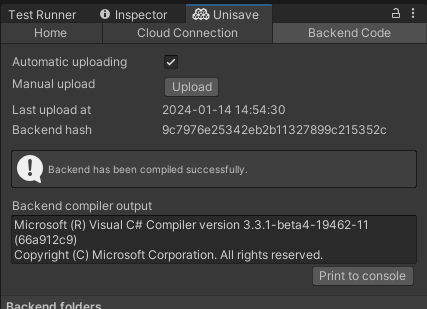
If you don't get any errors, the connection is set up correctly. If you get an error, make sure your tokens are set up properly and that you have internet connection.
Conclusion
Thank you for reading the tutorial. You can visit the Installation documentation page and browse the documentation to learn more details.
You can continue with the next tutorial in the series:
➡️ Backend Folders, Uploading - #2 Zero to Hero